1. symb
2. open
3. high
4. low
5. last
6. net
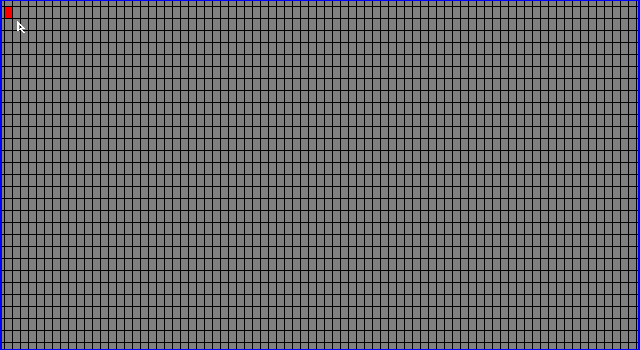
To place these codes, you need to be in edit layout mode. To get into modify layout mode, enter the .QEDIT command, or display the Quotes menu and select Modify Layout. Either way, the window switches to modify layout mode:

When you enter modify layout mode, the cursor is displayed in the upper left corner. As a rule, it is a good idea to give yourself a row or two on the top of the window for titles or labels. To do this, follow these steps:
1. Press the right arrow key three times.
2. Press the down arrow key once.
This moves the cursor in from the left border and down from the top border. You are now ready to enter codes. However, before you begin entering codes, set the layout to format codes in columns. To do this, follow these steps:
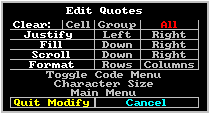
1. Display the Edit Quotes menu.
2. Select Format Columns.

Your quote window layout is now ready to format codes in columns. As a result, whenever you enter an element, the cursor moves down instead of right.
The first code you want to enter is
‘symb.’ To enter this code, follow these steps:1. Open the cell.
![]() Press
Press
![]() Click the left mouse key on the red cursor.
Click the left mouse key on the red cursor.
The
‘Cell=‘ box is displayed in the upper left corner of the layout.2. Enter the code,
symb
3. Press
b.The
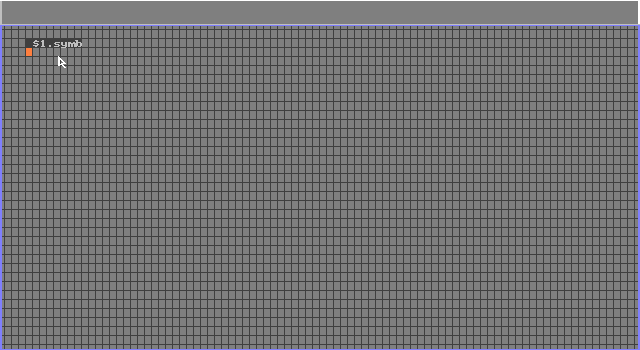
‘Cell=‘ box disappears, the program appends a quote code prefix to the element and places it in the layout. The cursor moves directly beneath the first character in the code you just entered.
Notice the cursor is in position for the next code. To continue, follow these steps:
1. Open the cell.
![]() Press
Press
![]() Click the left mouse key on the red cursor.
Click the left mouse key on the red cursor.
The
‘Cell=‘ box is displayed in the upper left corner of the layout.2. Enter the code,
open3. Press b.
The cursor moves to the next row.
4. Open the cell.
![]() Press
Press
![]() Click the left mouse key on the red cursor.
Click the left mouse key on the red cursor.
The
‘Cell=‘ box is displayed in the upper left corner of the layout.5. Enter the code,
high6. Press b.
The cursor moves to the next row.
7. Open the cell.
![]() Press
Press
![]() Click the left mouse key on the red cursor.
Click the left mouse key on the red cursor.
The
‘Cell=‘ box is displayed in the upper left corner of the layout.8. Enter the code,
low9. Press b.
The cursor moves to the next row.
10. Open the cell.
![]() Press
Press
![]() Click the left mouse key on the red cursor.
Click the left mouse key on the red cursor.
The
‘Cell=‘ box is displayed in the upper left corner of the layout.11. Enter the code,
last12. Press b.
The cursor moves to the next row.
13. Open the cell.
![]() Press
Press
![]() Click the left mouse key on the red cursor.
Click the left mouse key on the red cursor.
The
‘Cell=‘ box is displayed in the upper left corner of the layout.14. Enter the code,
net15. Press b.
The cursor moves to the next row.
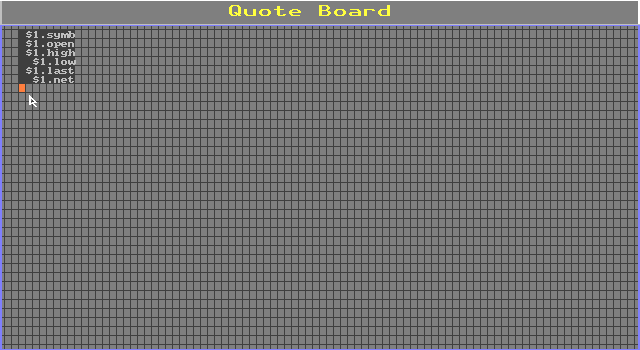
Your layout now contains all six codes. Notice that the program has placed the codes with a $1 prefix. This indicates that all the codes in this group will display information on the same instrument. You use this group to fill the layout with this code arrangement.

You are now ready to fill in the layout.