![]()
![]()
![]()
![]()
Once Remote Access is installed, you need to configure it. Configuration involves supplying TCP/IP addresses that your NT 4.0
workstation can assign to your remote workstation when you dial in. On open networks, these TCP/IP addresses are not arbitrary.
They are addresses that are available to your TCP/IP network, as allocated by your Internet Provider. On closed networks, you can
make up an address, provided it is unique and adheres to TCP/IP address conventions.
The first step, then, is to get a TCP/IP address for use by your RAS Server. How you do this depends on your network:
![]() If you have a “closed” network, make up a TCP/IP address.
If you have a “closed” network, make up a TCP/IP address.
![]() If you have an “open” network, contact your network administrator to get a TCP/IP address.
If you have an “open” network, contact your network administrator to get a TCP/IP address.
Under either condition, your TCP/IP addresses may be administered automatically by your network server using DHCP, or Dynamic Host Configuration Protocol. If this is the case, your network administrator will tell you when you ask for a TCP/IP address. The following instructions account for both non-DHCP and DHCP configurations.
Once you have a TCP/IP address, or knowledge that address assignment is handled by DHCP, you are ready to configure TCP/IP RAS. To do this, follow these steps:
1. Open the Start menu.
2. Select Settings.
3. Select Control Panel.
This displays the Control Panel.
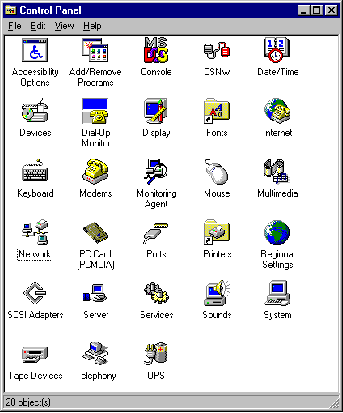
4. Double-Click on the Network icon.

This displays the Network dialog box:
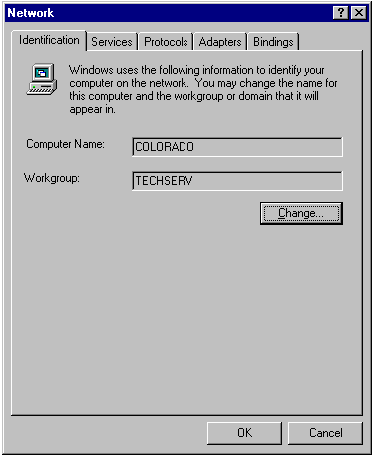
5. Display the Services tab in the Network dialog box.
The Services tab displays a list of installed services on your system.
6. Select Remote Access Service.
7. Click on Properties.
This displays the Remote Access Setup dialog box:
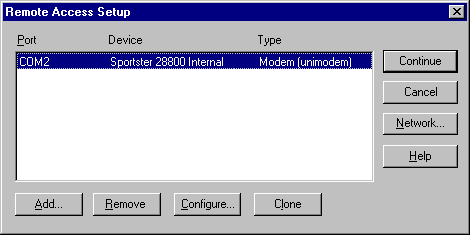
8. Select the Network… button.
This displays the Network Configuration dialog box:
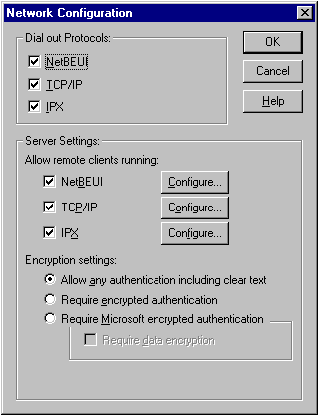
9. Under Server Settings, make sure TCP/IP is checked.
10. Select the Configure button next to the TCP/IP check box.
This displays the RAS Server TCP/IP Configuration dialog box.
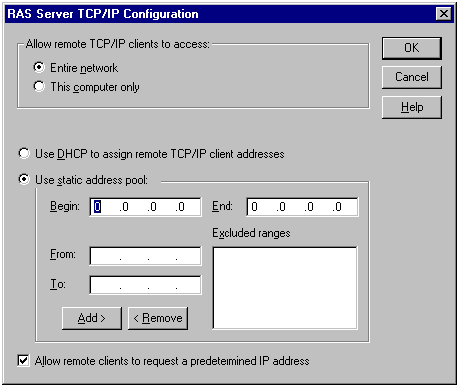
11. In the Allow remote TCP/IP clients to access section, make sure the Entire network radio button is selected.
12. Choose the appropriate TCP/IP address acquisition technique:
![]() If DHCP is not used on your network, make sure the Use static address pool radio button is selected. Then, supply the TCP/IP
address or addresses that can be used by RAS in the Begin and End fields.
If DHCP is not used on your network, make sure the Use static address pool radio button is selected. Then, supply the TCP/IP
address or addresses that can be used by RAS in the Begin and End fields.
![]() If only one address is available, enter the address in both fields.
If only one address is available, enter the address in both fields.
![]() If more than one address is available, define the range of available TCP/IP addresses on your network by entering the beginning
address in the Begin field, and the ending address in the End field.
If more than one address is available, define the range of available TCP/IP addresses on your network by entering the beginning
address in the Begin field, and the ending address in the End field.
If the range you define contains addresses that must be omitted, enter the addresses in the From and To fields and click Add.
![]() If DHCP is used on your network, make sure the Use DHCP to assign remote TCP/IP client addresses radio button is
selected.
If DHCP is used on your network, make sure the Use DHCP to assign remote TCP/IP client addresses radio button is
selected.
Once you have finished configuring remote access TCP/IP, you are ready to follow the instructions on configuring the TCP/IP protocol in the next section.
![]()